How Climbing Shoes Are Resoled

HOW CLIMBING SHOES ARE RESOLED: INTRO
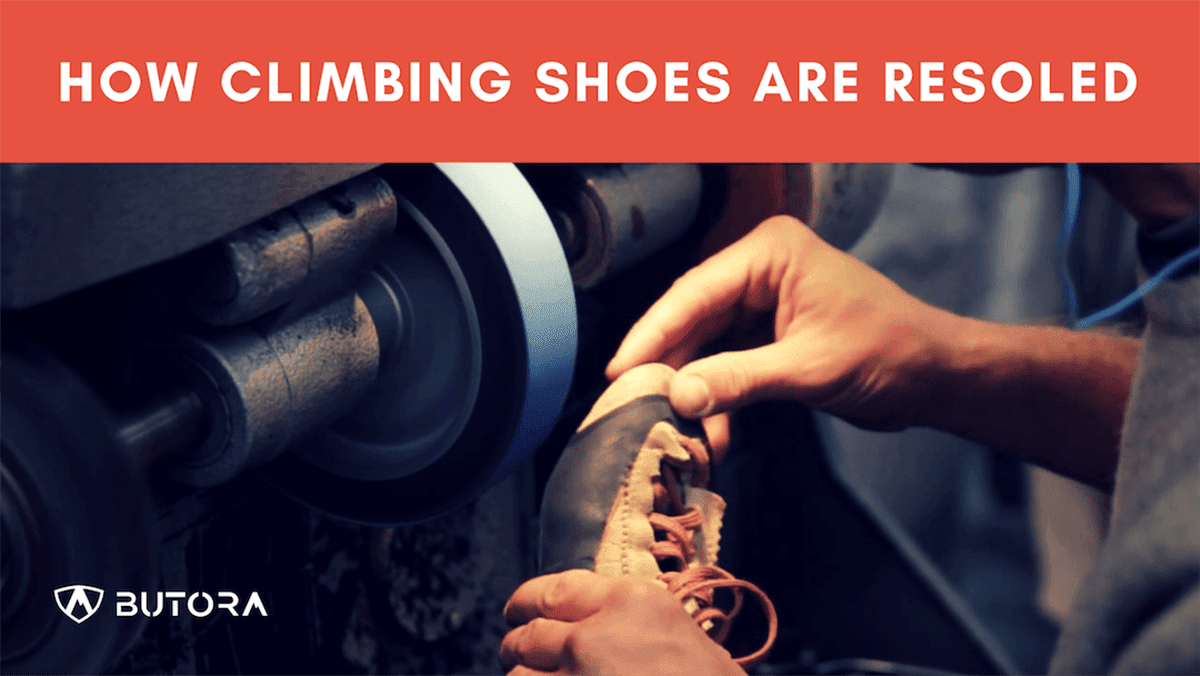
Whether you’re a novice or a veteran climber, the right pair of climbing shoes is essential. With wear and tear inevitable and prices ranging from $90 to $200 for new shoes, resoling is sometimes a friendlier option for your wallet. The average cost for a professional resole is $50 but varies depending on your shoe’s condition. If that price is still too steep, consider resoling them yourself.
TIPS FOR PROPER CLIMBING SHOE CARE
Proper care of your climbing shoes extends their life, aiding your budget. To get the most use from your shoes before they need repairing or replaced, the Rubber Room offers the following tips:
- To preserve the glue holding the rand and sole to the rest of your shoe, keep them out of heat as much as possible. That means no more tossing them into the back of your car and forgetting about them.
- Clean them before you climb. That maximizes friction and reduces wear.
- Please don’t take them for long walks while on your feet.
- When warranted, take them off in unnecessary areas and use other shoes, such as approach shoes.
- Store them in a dry area with adequate ventilation.
- Inspect them regularly for wear and tear. They will reach a “point of no return,” where no one can repair them. While repair of the rand is possible, fixing the shoe before damage occurs is preferable.
RESOLE OR BUY NEW?
Despite giving your shoes the best possible care, they will need to be fixed or forgotten at some point. Some climbers prefer buying a new pair, while others will resole.
How do you know which one is best? That answer depends on you. Many climber forums discuss this topic, but the array of advice includes similar suggestions. SuperTopo summarized it best.
Resole If:
- You like the fit and style of your shoe, and the upper is in good condition
- Resole cost offers significant savings over buying new
- The model of your shoe isn’t available anymore
Buy New If:
- Waiting on a resole takes too much time
- You have a gear shop (or climbing shoe brand – wink) you like to support
- You found a new model of shoe you really like
If you choose to resole, you can let someone else do it or do it yourself. While many repair services exist, a little DIY resoling saves money and time.
So, what’s involved in resoling climbing shoes?
Repair falls into three categories: 1/2 Sole Repair, Rand Repair, or Both.
- Half-Sole repair involves the front half of the rubber on your climbing shoe. You’ll need to replace the worn rubber with a new one.
- Rand Repair involves the toe cap. This also involves removing worn rubber, as well as sewing any holes, before adding new rubber. However, rand repair tends to alter the shape and fit of the shoe, as well as reducing the opportunity for subsequent resoles. It is best to have your climbing shoes repaired before rand damage occurs.
- Sometimes, both these things need repair. And, of course, you may also need new straps or buckles.
Repair Kits
Repair kits are available to aid with supplies and instructions. In general, if you want to tackle this project on your own, you’ll need the following:
- A sharp cutting tool to penetrate the rubber
- A heat source such as a hair dryer or heat gun
- Pliers
- Sandpaper or power tool sander
- A rubber mallet or a cloth-wrapped hammer
Other tips when resoling
If you are going the DIY route, you should consider these points:
- Choose where to cut and mark the sole. A good reference point is the flex spot on the shoe’s sole.
- Use a heat source to soften the rubber and underlying glue.
- Once you can cut through the rubber, it helps to peel some of it away with the pliers and apply the heat directly to the glue.
- After discarding the worn rubber, use sandpaper to remove any remaining dry glue or dirt.
- Use the worn piece of rubber as a template when cutting the new rubber. Cutting the new piece slightly larger than the old piece is a good idea. You can remove any overlap later.
- Glue the new rubber to the shoe with a block of heavy-duty contact cement. Most kits will supply this.
- Use the rubber mallet to attach the sole firmly to the shoe.
- Give the cement time to cure before doing more work on the shoe.
- Use the power sander (such as Dremel Sander) to sand down any overlapping rubber.
- Let it set.
- Go climbing.
Regarding resoling, the best advice is to know your limits. Working at home is cost-effective with the time, equipment, and skill. However, if in doubt, find a skilled shop to resole for you, ensuring you don’t do more damage than repair.


